Use
Create/Use Simulink Model
The user can find different examples inside XBotBlock_Final_Product/Models_Example directory.
In particular, inside the Use cases directory, the user can understand different use cases related on robot and model managers. In the other hand inside the Tasks directory, it was developed different models: joint space, cartesian space and dynamics tasks.
In this session, the joint space task will be explained with model,process and hardware in the loop testing (NRT and RT code) inside kinematics/dynamics environments (RViz and Gazebo) and on real robot.
Run JointSpace Task Model:
cd XBotBlock_Final_Product/Models_Example
run simulink model JointSpace_Task_v1.slx or JointSpace_Task_v2.slx
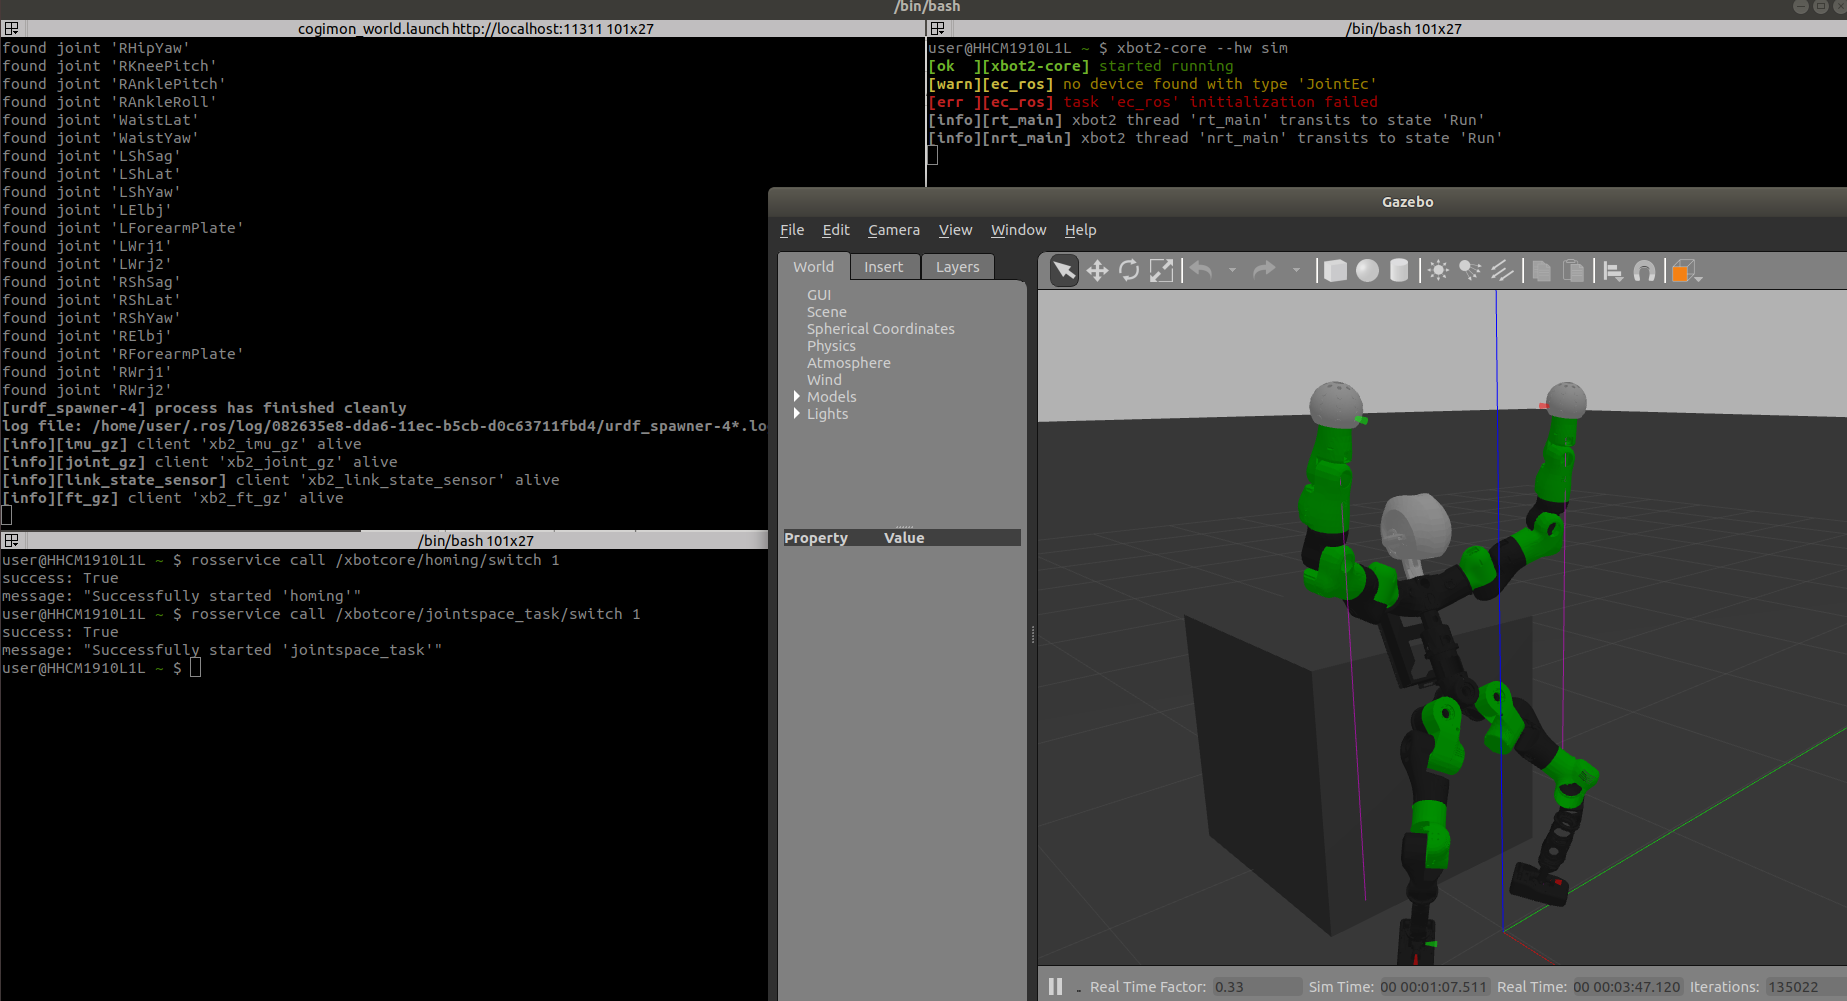
Run xbot-core2 (sim, dummy or “real robot configuration, position, velocity and impadance mode”):
xbot2-core --hw dummy (sim,ec_pos,ec_imp)--> (RViz, Gazebo, Real Robot).
rosservice call /xbotcore/homing/switch 1
rosservice call /xbotcore/ros_control/switch 1
Run Simulink Model
Model in the loop
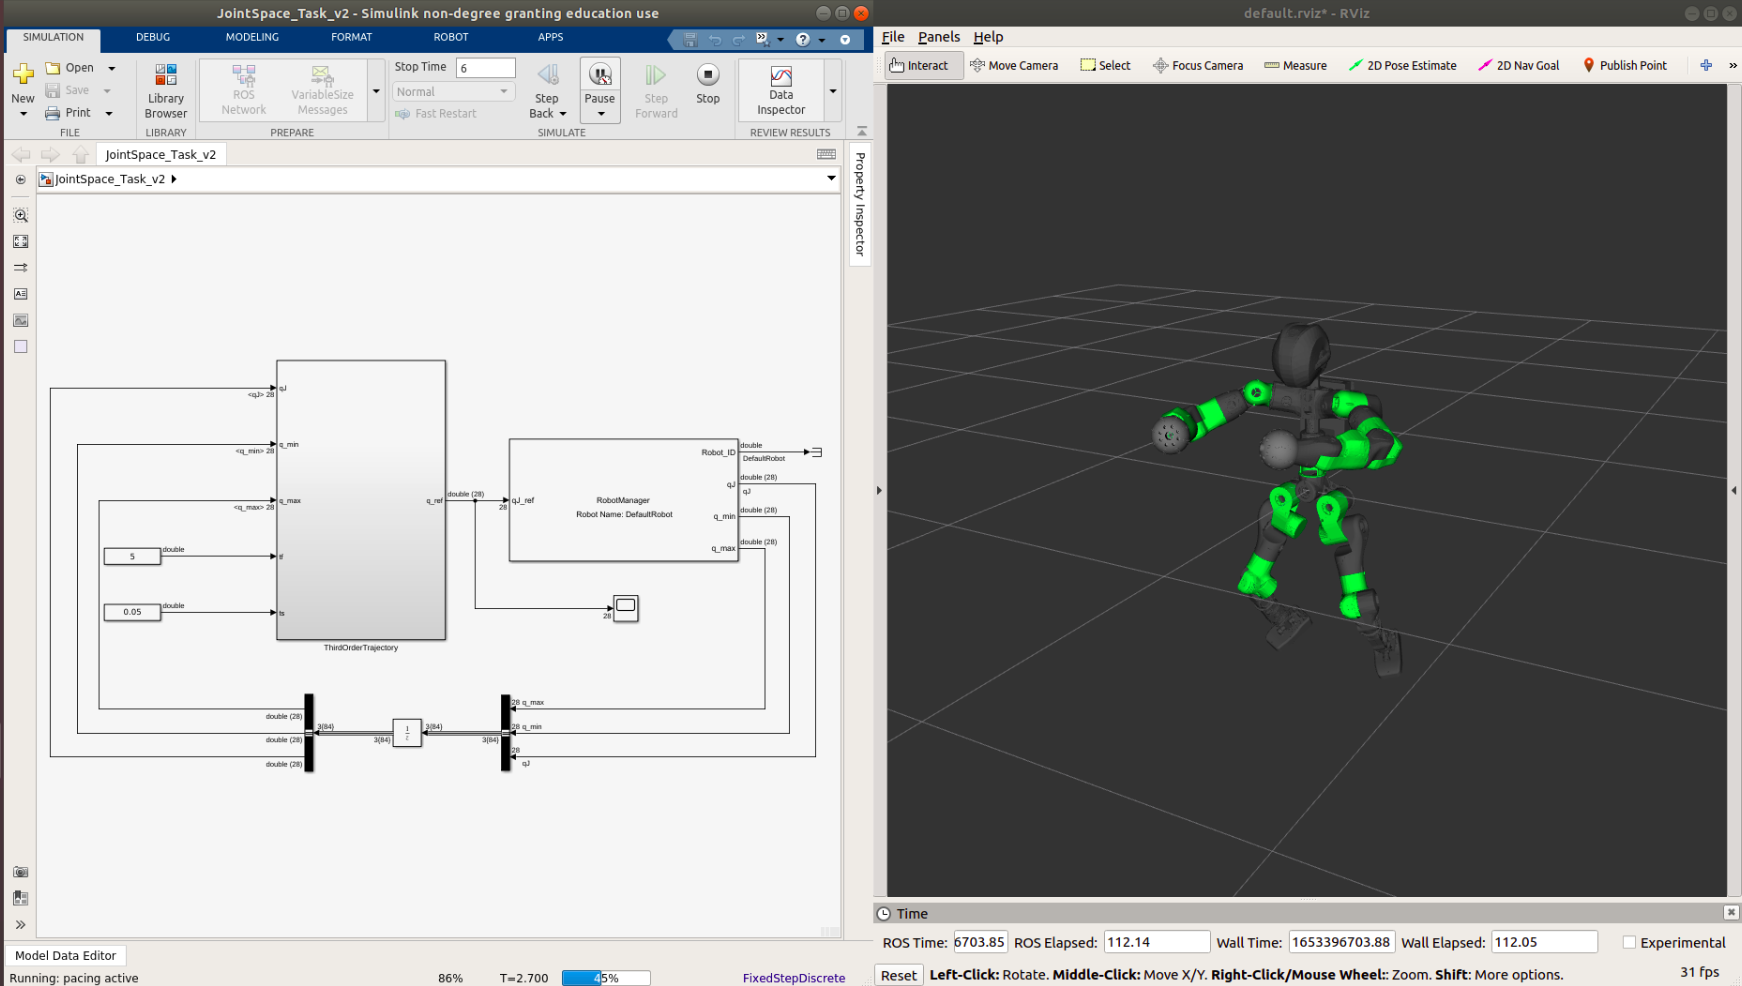
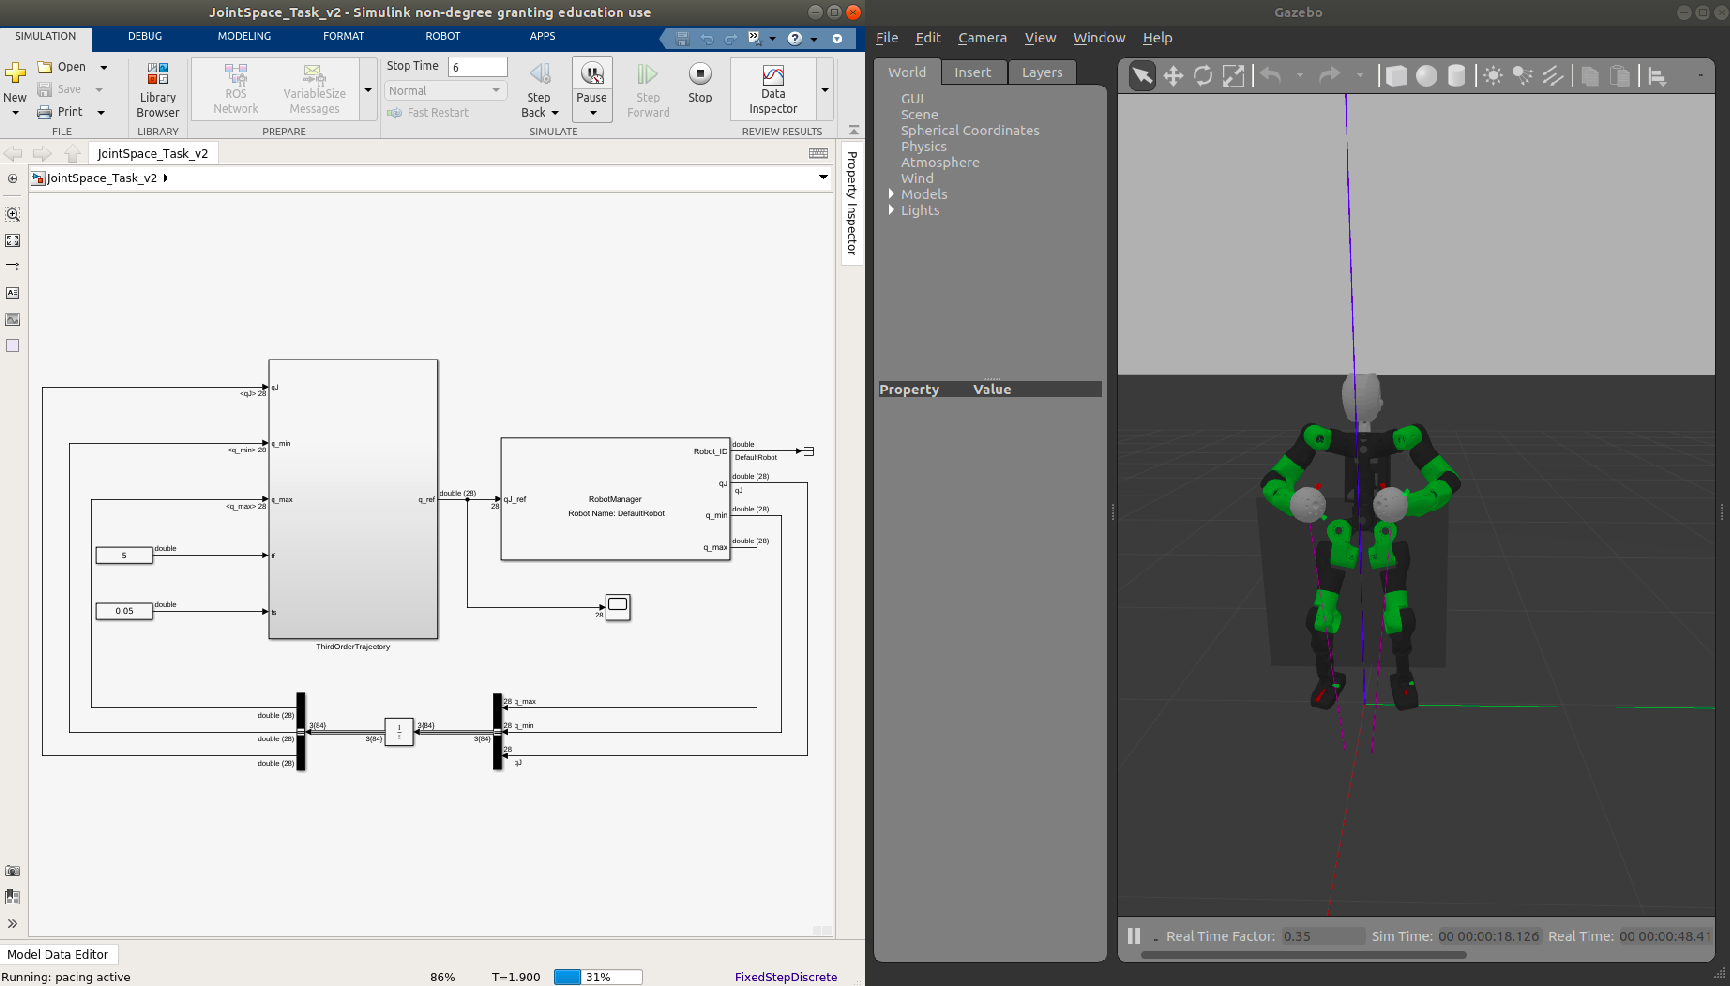
Use Simulation tab inside Simulink and play simulink model activating the pacing time:
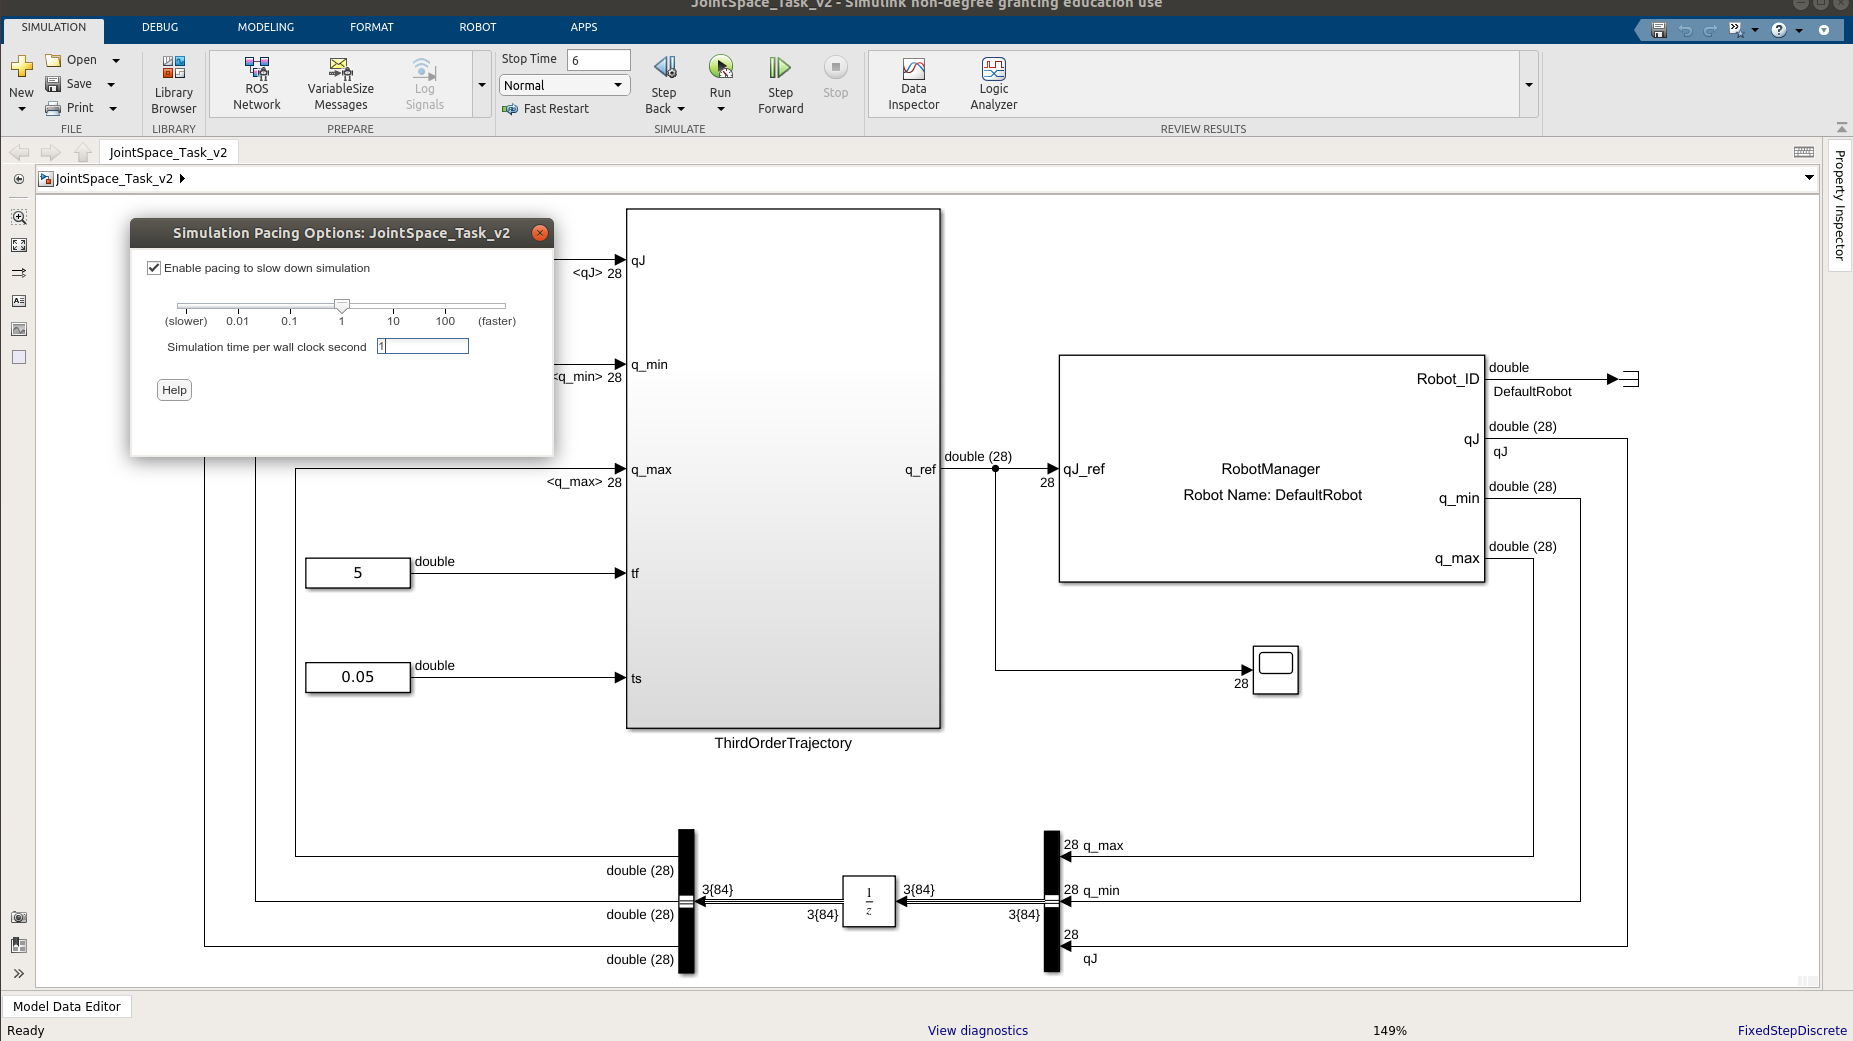
Kinematics environment (Rviz)
Dynamics environment (Gazebo)
Process in the loop
Use Robot tab inside Simulink and setup your robot connection:
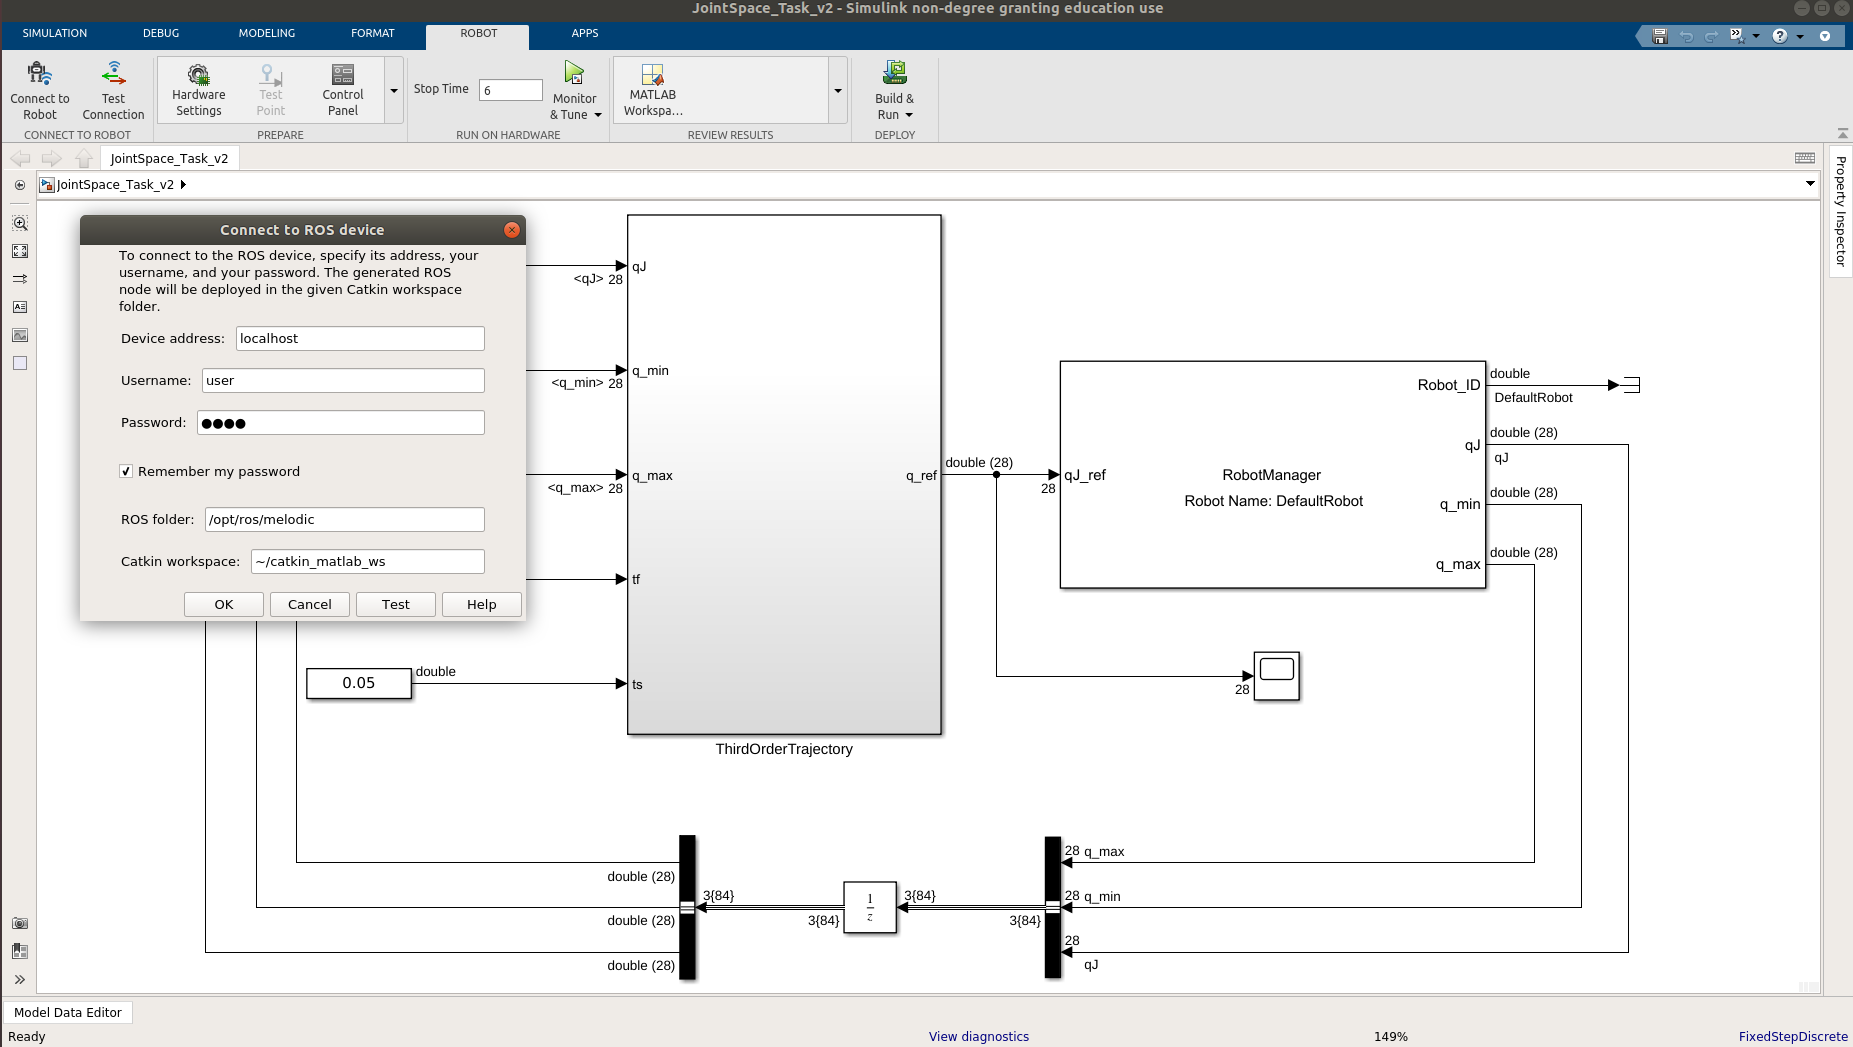
Add inside the device address the robot address, then username and password. Simulink will find the ROS path and then user shall define the catkin workspace on the robot (i.e ~/catkin_matlab_ws).
Test the connection by pressing test button:
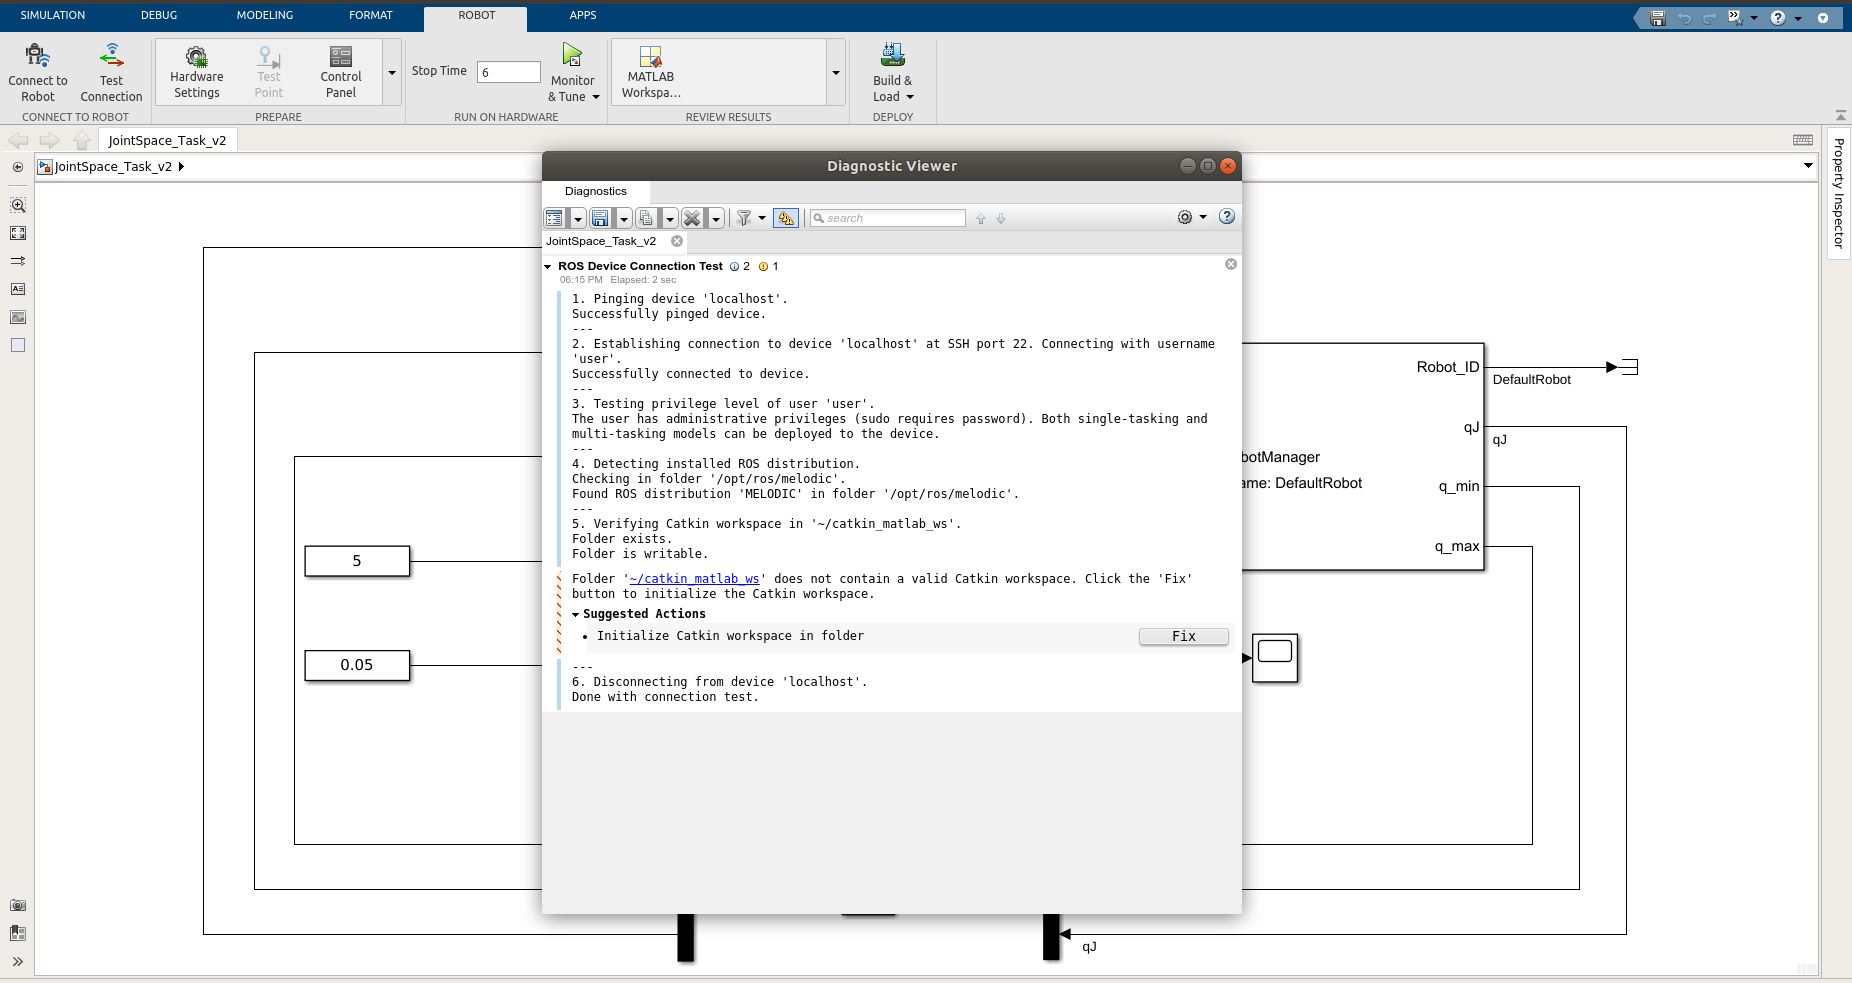
If the workspace is not initialized, press the fix button to initialize it. This operation will create catkin workspace on the robot (~/catkin_matlab_ws).
cd ~/catkin_matlab_ws
mkdir src && cd src
catkin_init_workspace
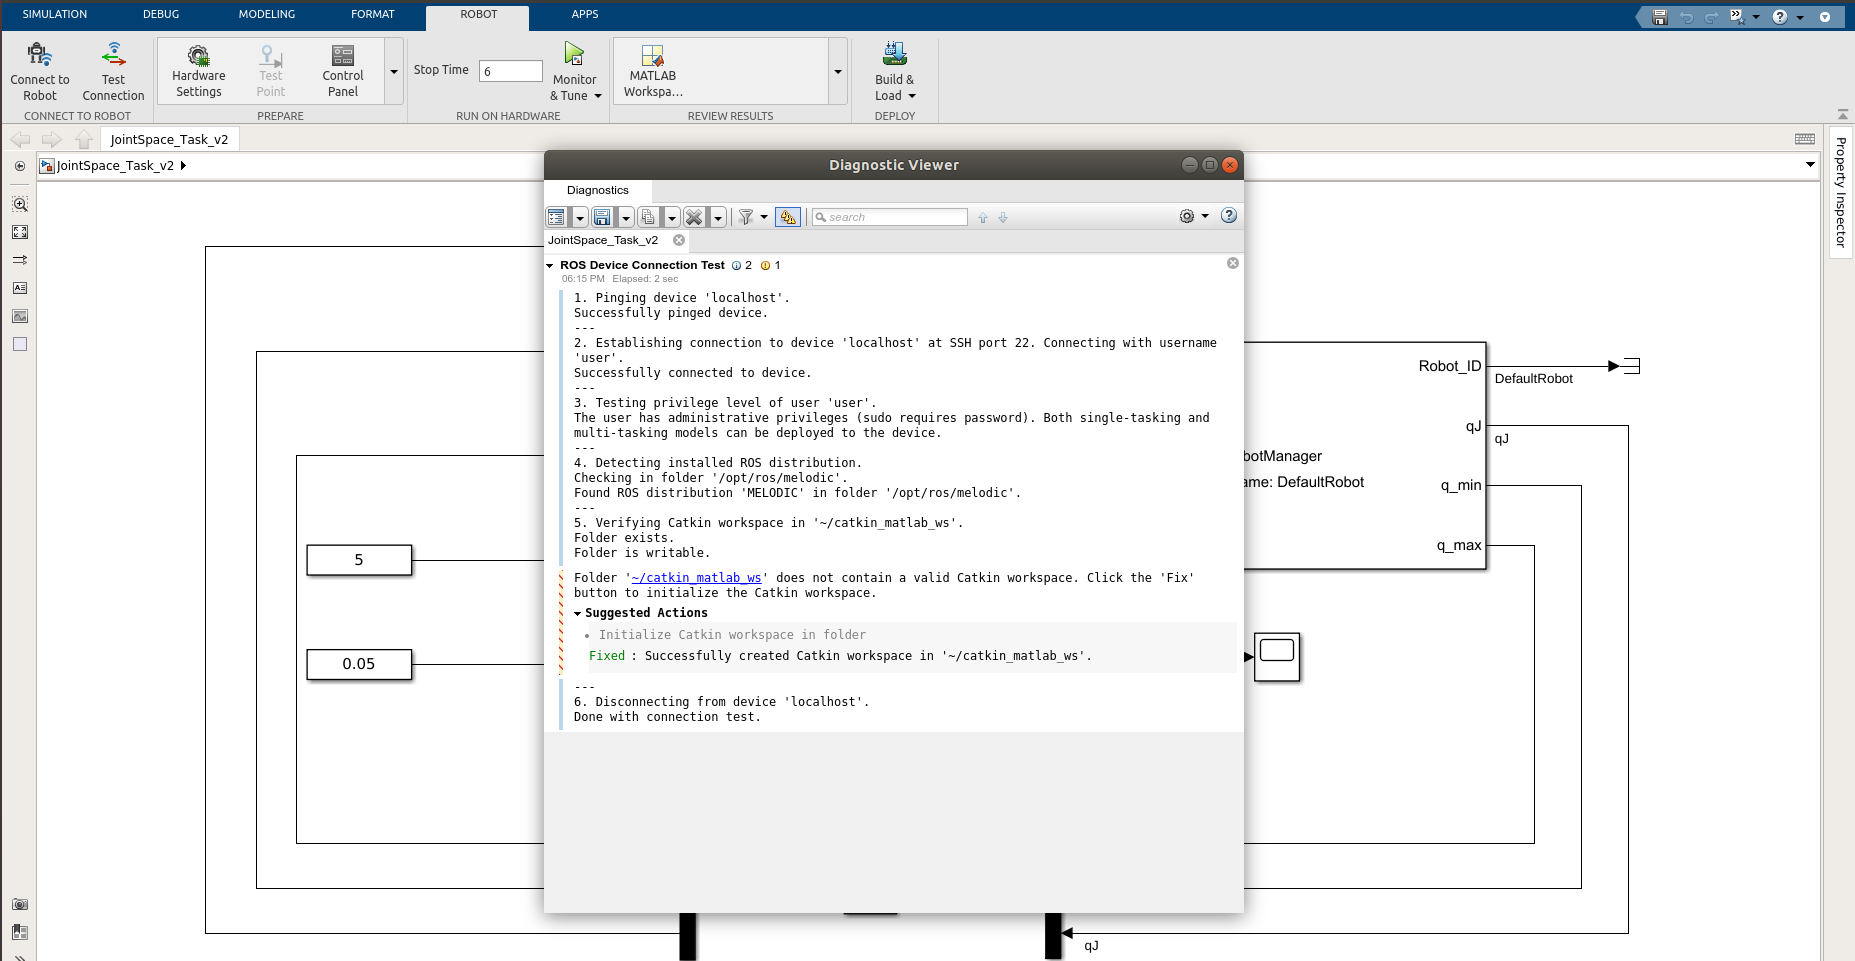
Verify the workspace on the robot and then press OK button.
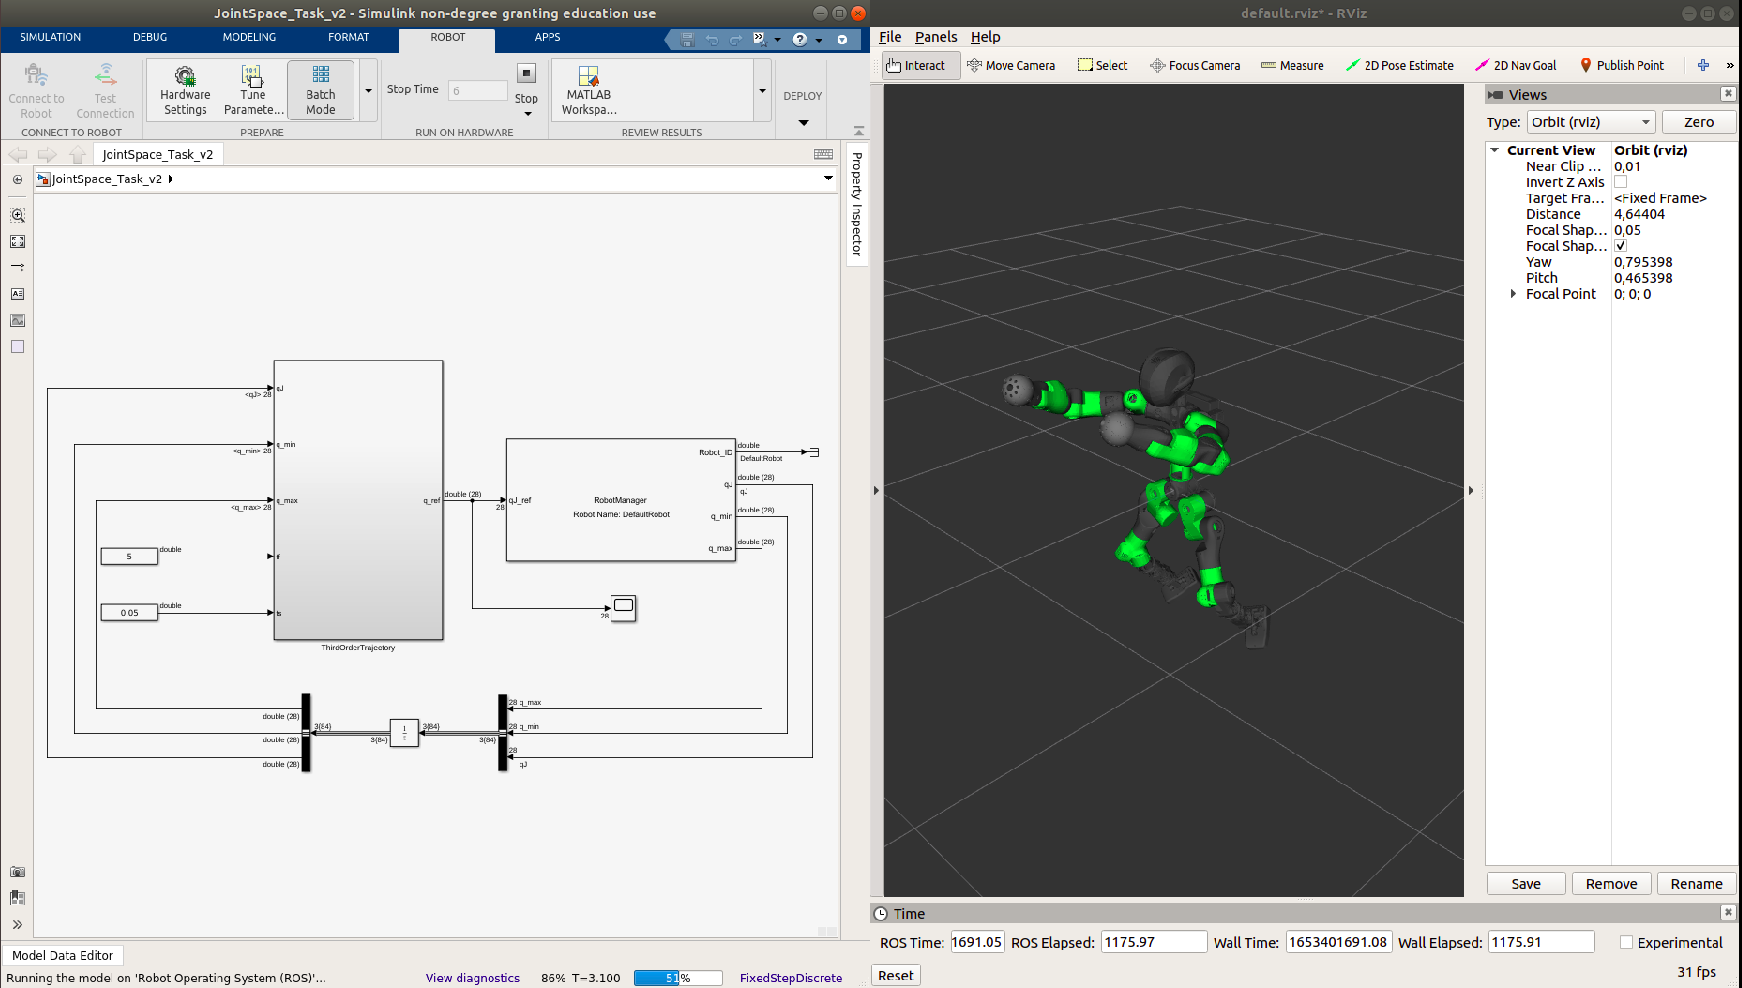
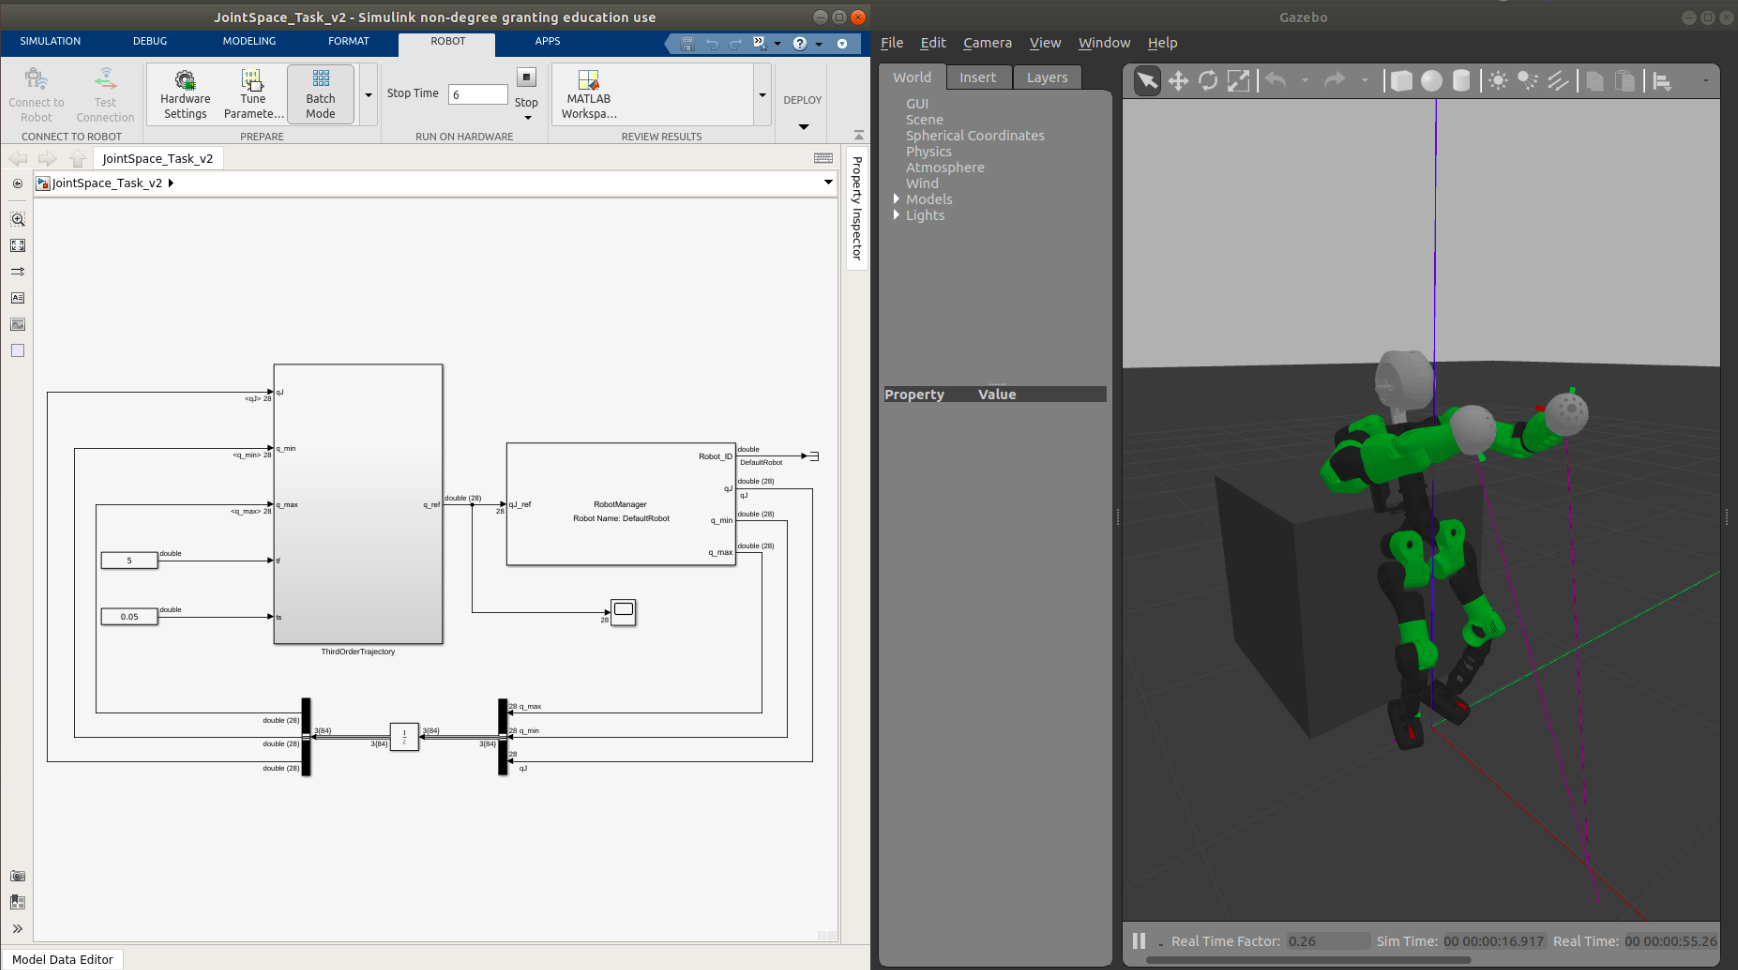
Use Robot tab inside Simulink and press Monitor & Tune button to start the PIL testing:
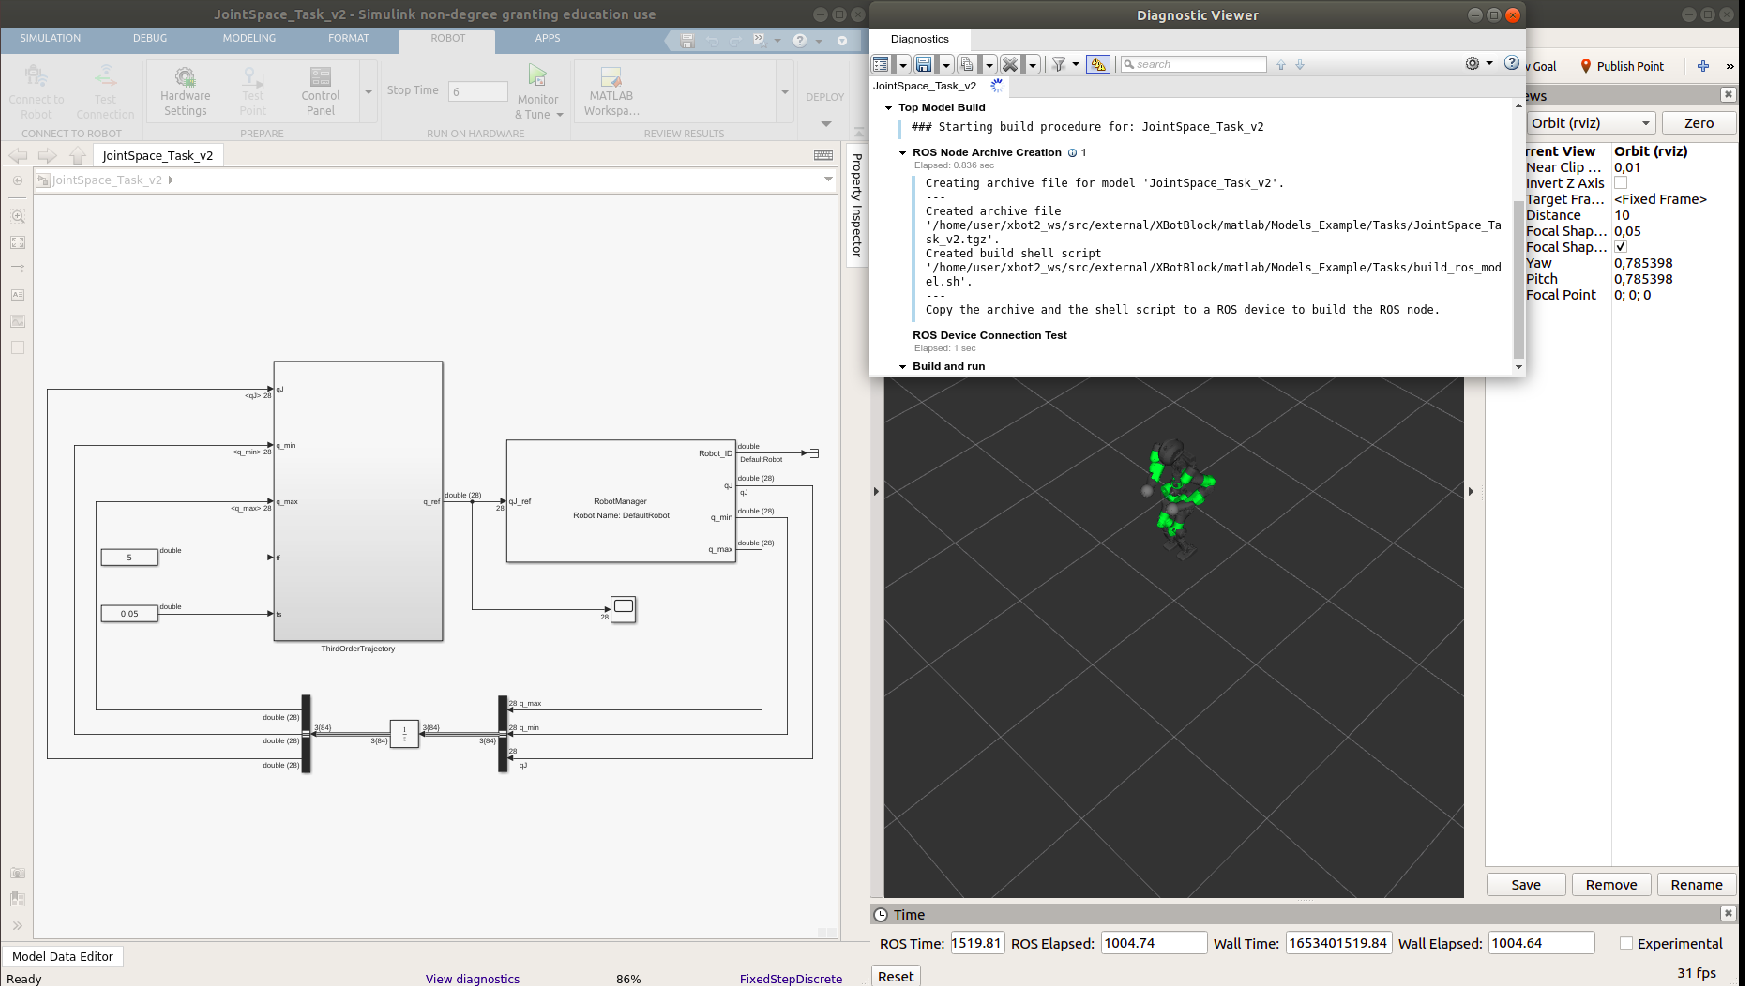
Kinematics environment (Rviz)
Dynamics environment (Gazebo)
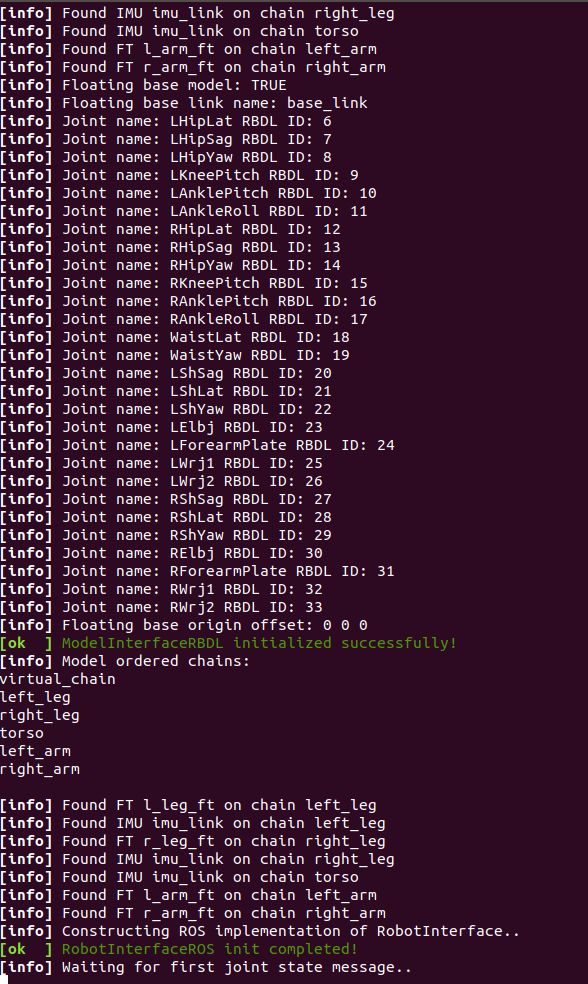
Another approach is to launch the node on the robot and connect it with Simulink:
cd ~/catkin_matlab_ws/devel/lib/jointspace_task_v2

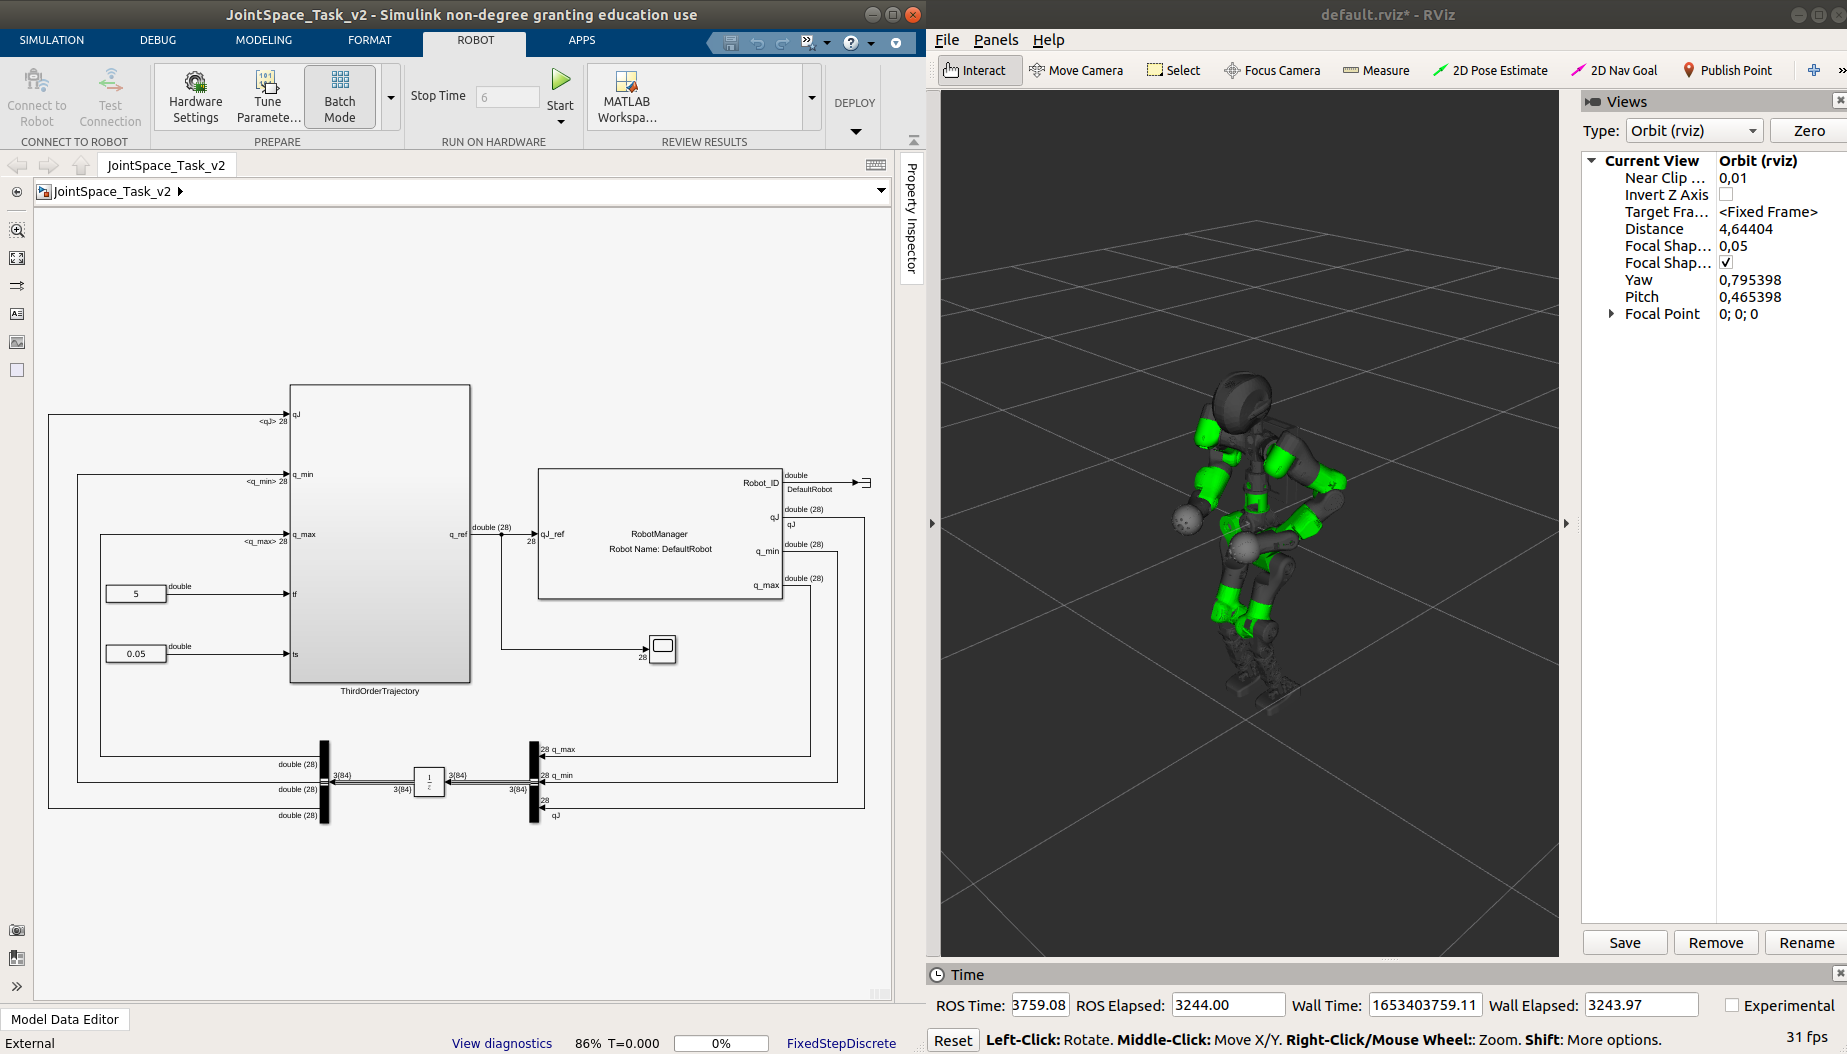
Press Monitor & Tune arrow and use the connect button to communicat with the node and the start the PIL testing:
Hardware in the loop
Non Real Time Code (ROS standalone node)
Use Robot tab inside Simulink and setup your robot connection:

Add inside the device address the robot address, then username and password. Simulink will find the ROS path and then user shall define the catkin workspace on the robot (i.e ~/catkin_matlab_ws).
Test the connection by pressing test button:

If the workspace is not initialized, press the fix button to initialize it. This operation will create catkin workspace on the robot (~/catkin_matlab_ws).
cd ~/catkin_matlab_ws
mkdir src && cd src
catkin_init_workspace

Verify the workspace on the robot and then press OK button.
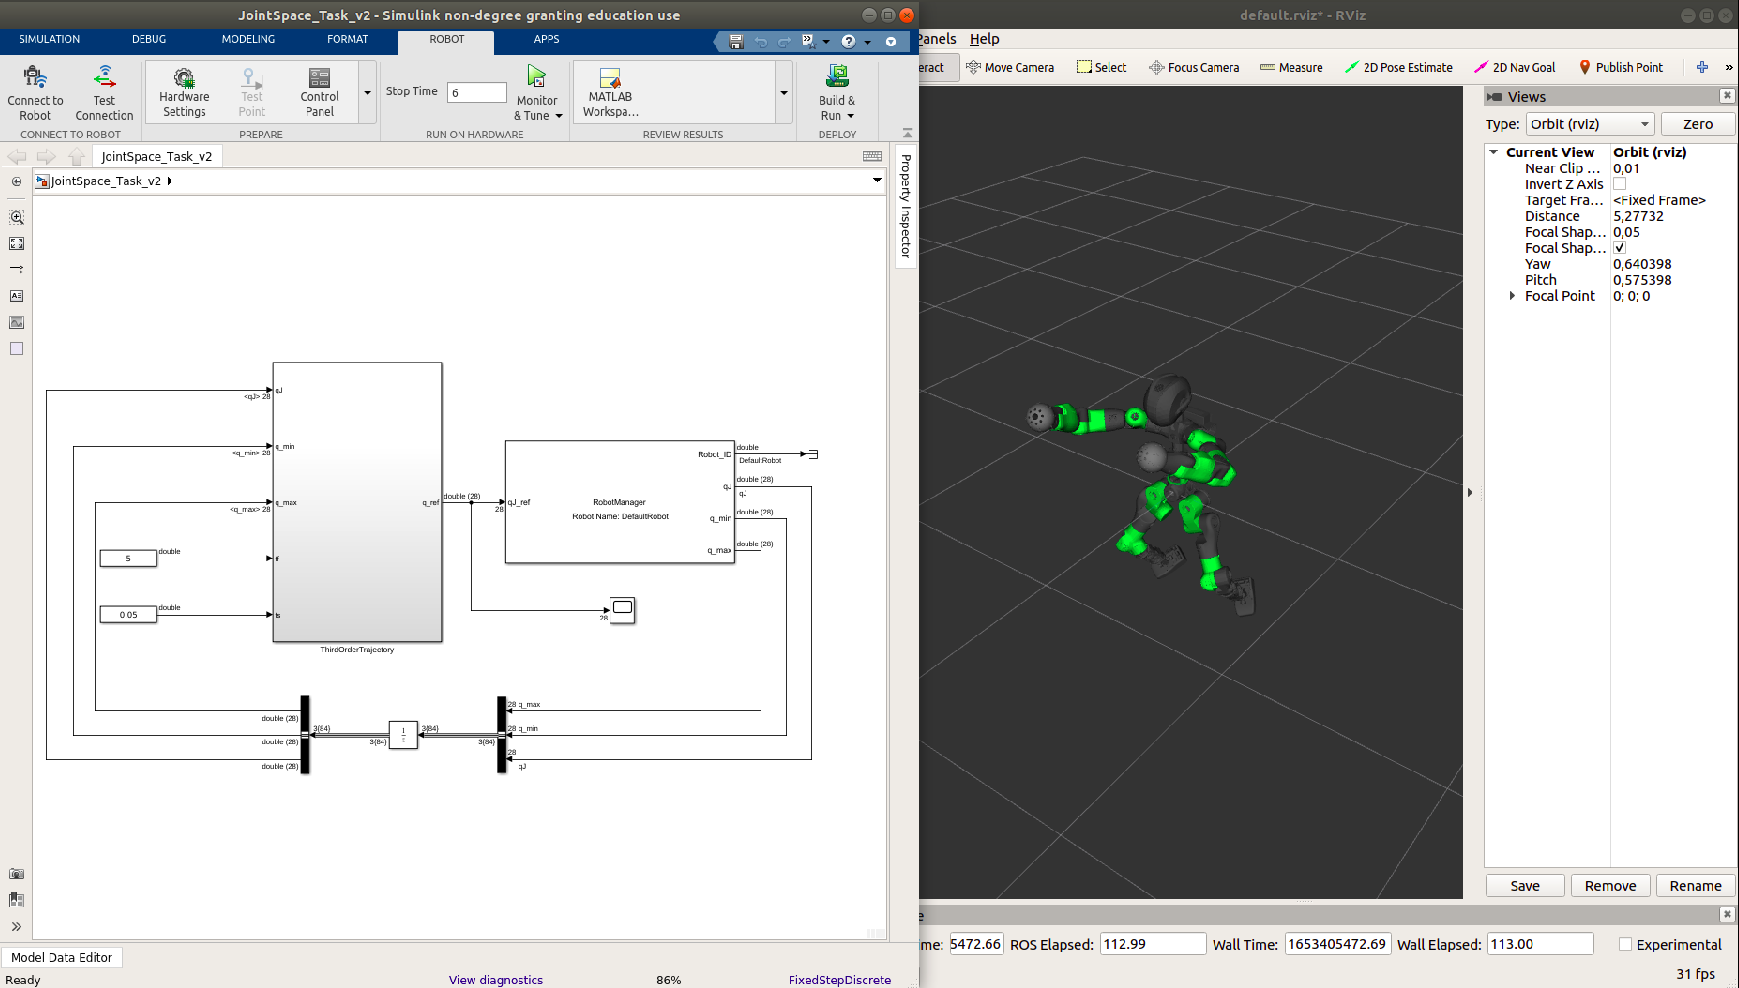
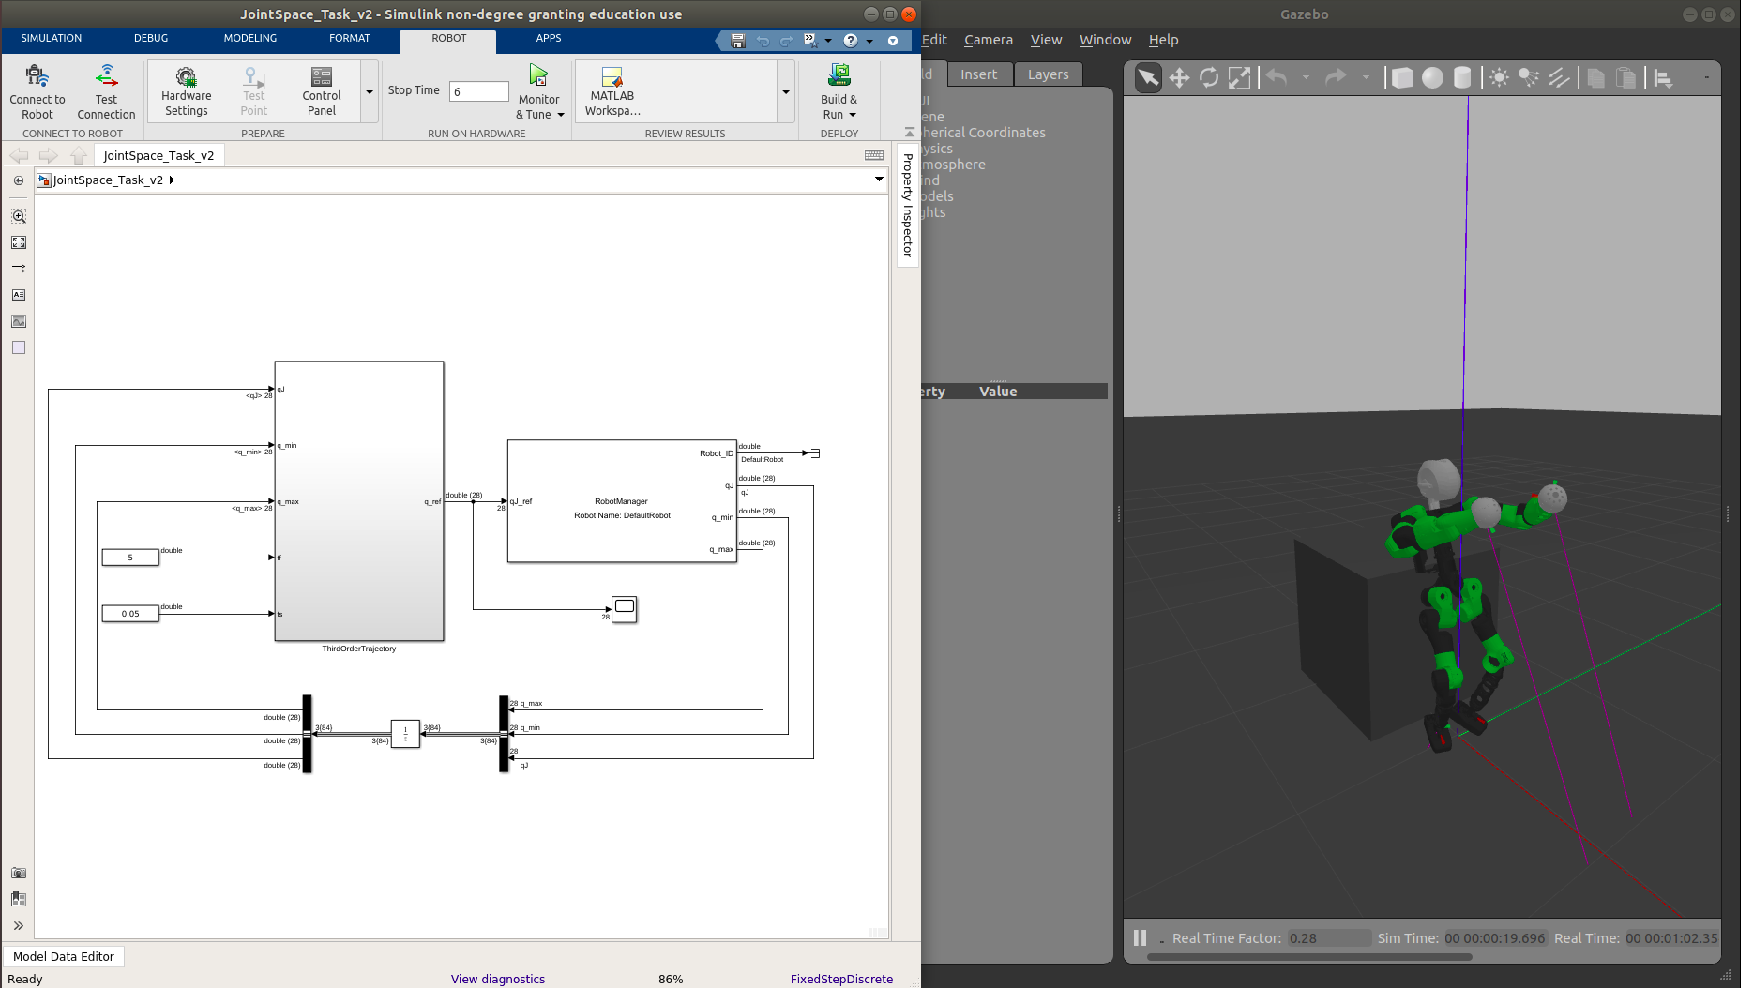
Use Robot tab inside Simulink and press Build & Run button to start the NRT HIL testing:
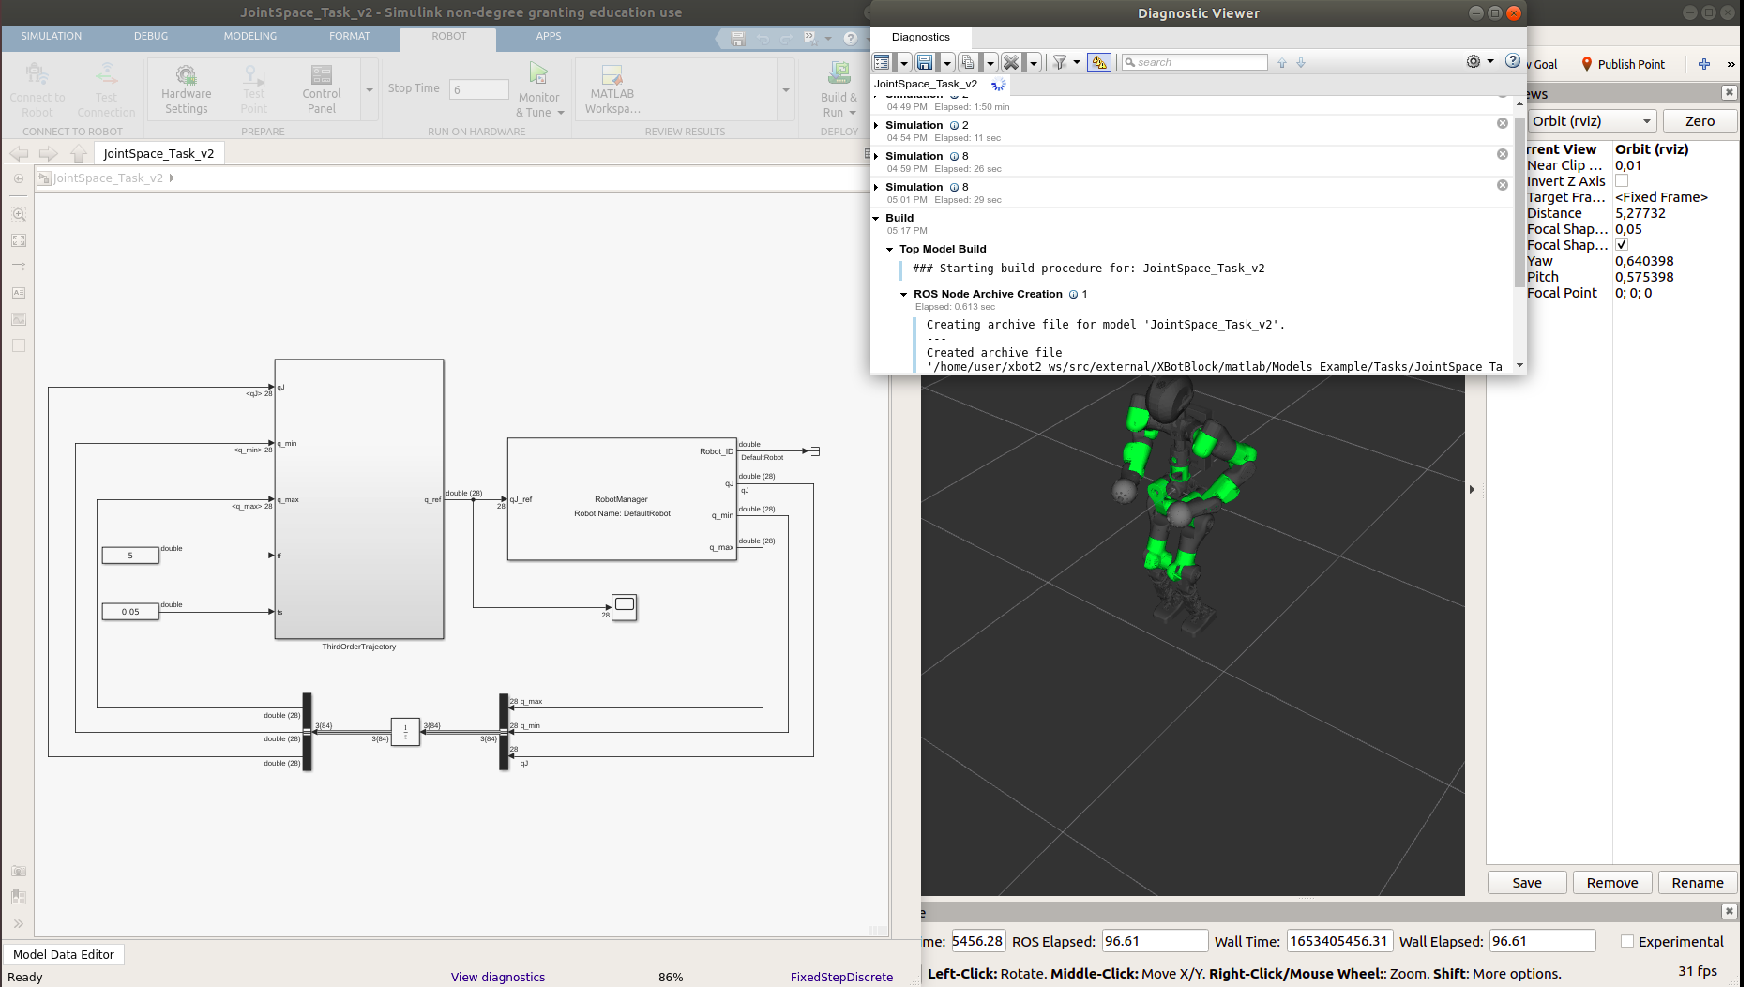
Kinematics environment (Rviz)
Dynamics environment (Gazebo)
Another approach is to launch the node on the robot:
cd ~/catkin_matlab_ws/devel/lib/jointspace_task_v2
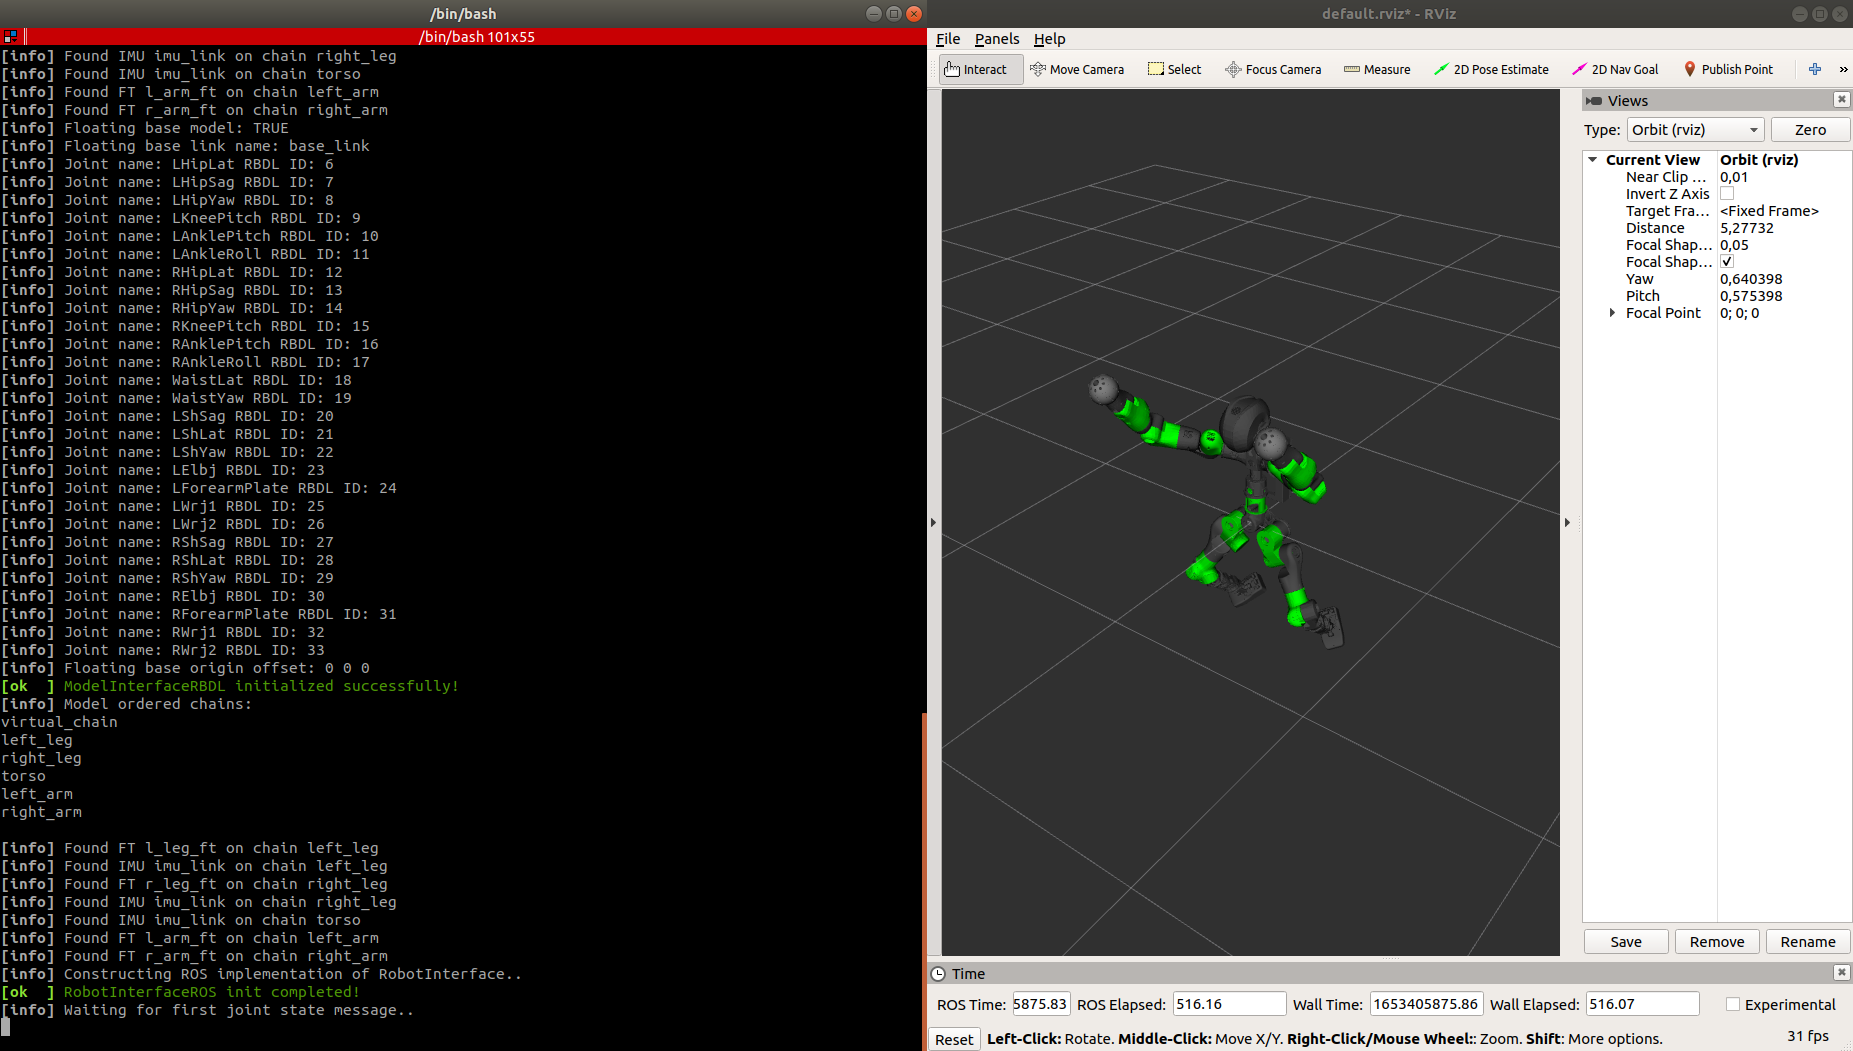
Non Real Time Code (ROS standalone node) Calibration
In this phase it’s possible to calibrate the nrt code by pressing the Control panel:
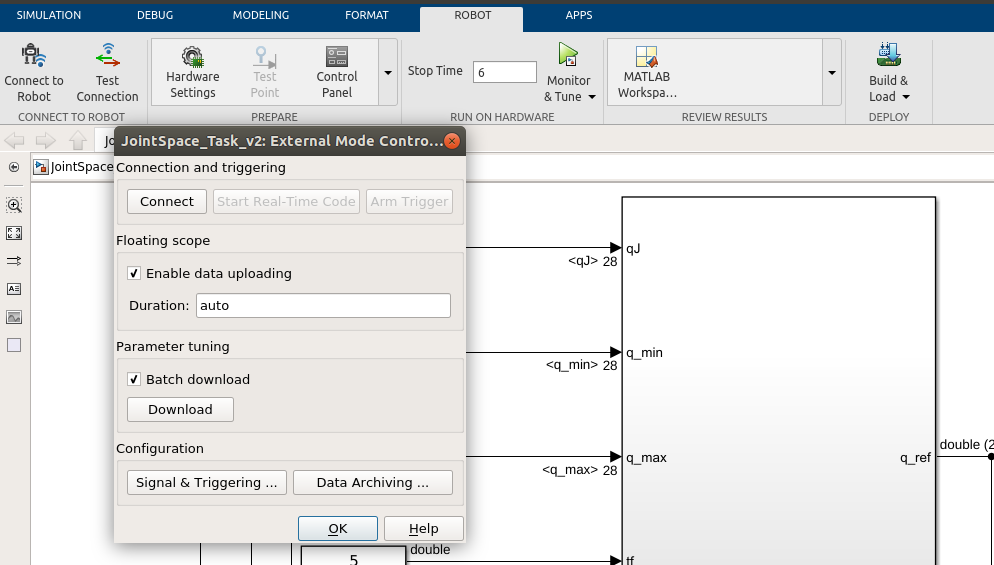
When a parameter in the model changes, this is detected and it’s possible to download the new value:
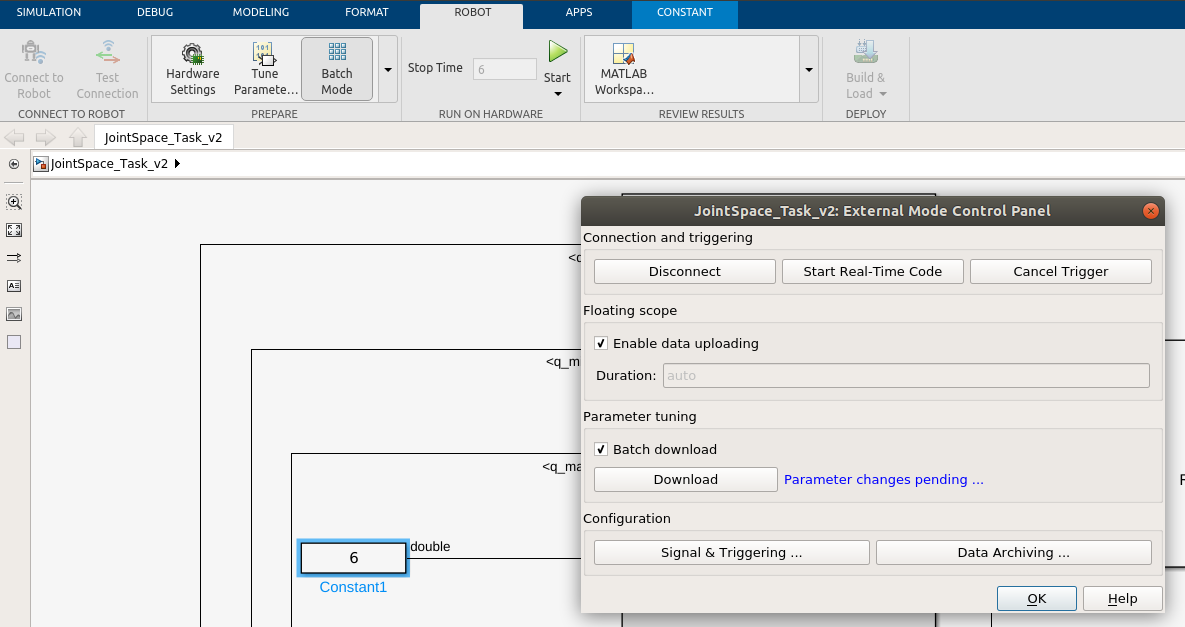
Real Time Code (XBotCore RT plugin)
Use Robot tab inside Simulink and setup your robot connection:

Add inside the device address the robot address, then username and password. Simulink will find the ROS path and then user shall define the catkin workspace on the robot (i.e ~/catkin_matlab_ws).
Test the connection by pressing test button:

If the workspace is not initialized, press the fix button to initialize it. This operation will create catkin workspace on the robot (~/catkin_matlab_ws).
cd ~/catkin_matlab_ws
mkdir src && cd src
catkin_init_workspace

Verify the workspace on the robot and then press OK button.
Create Real Time Plugin using the matlab script inside XBotBlock_Final_Product/script directory:
open matlab
cd XBotBlock_Final_Product/script
run generate_rt_plugin.m
This will generate the xbot2 real time plugin:
MODEL_NAME_rt_plugin.cpp and MODEL_NAME_rt_plugin.h
By configuring the model adding the real time code and real time flag, XBOT2_ENABLE_XENO, it’s possible to create the real time plugin on the robot:
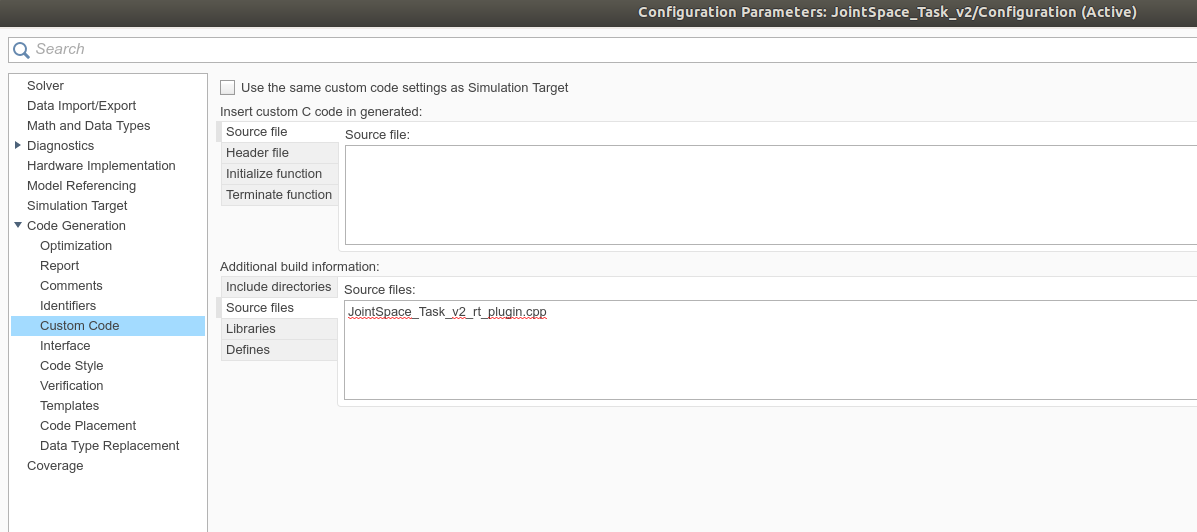
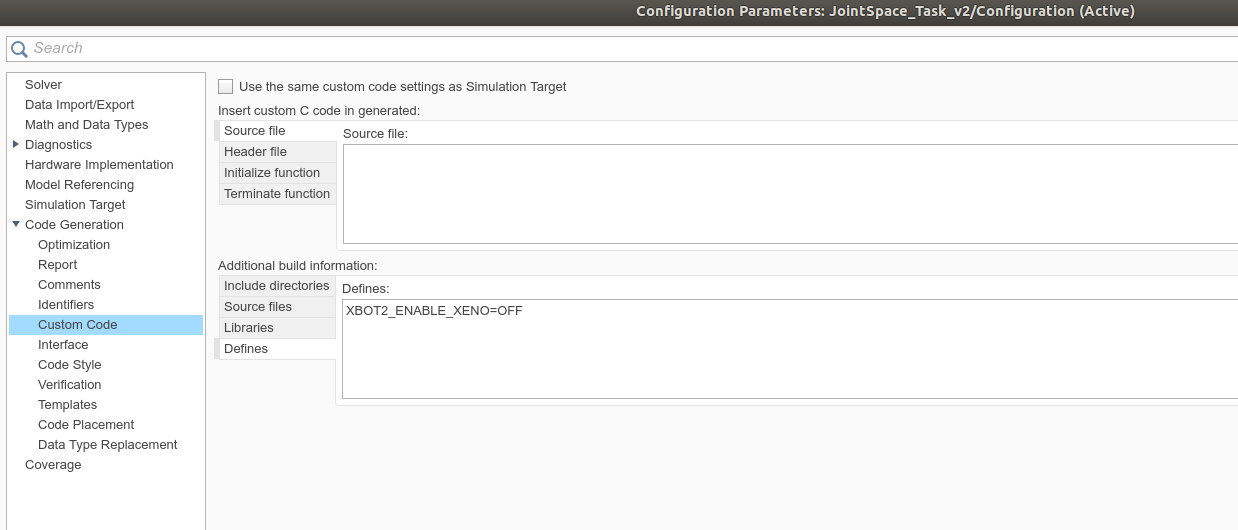
Use xbot2-core to test the real time plugin, adding it into the xbot2 configuration file:
Kinematics environment (Rviz)
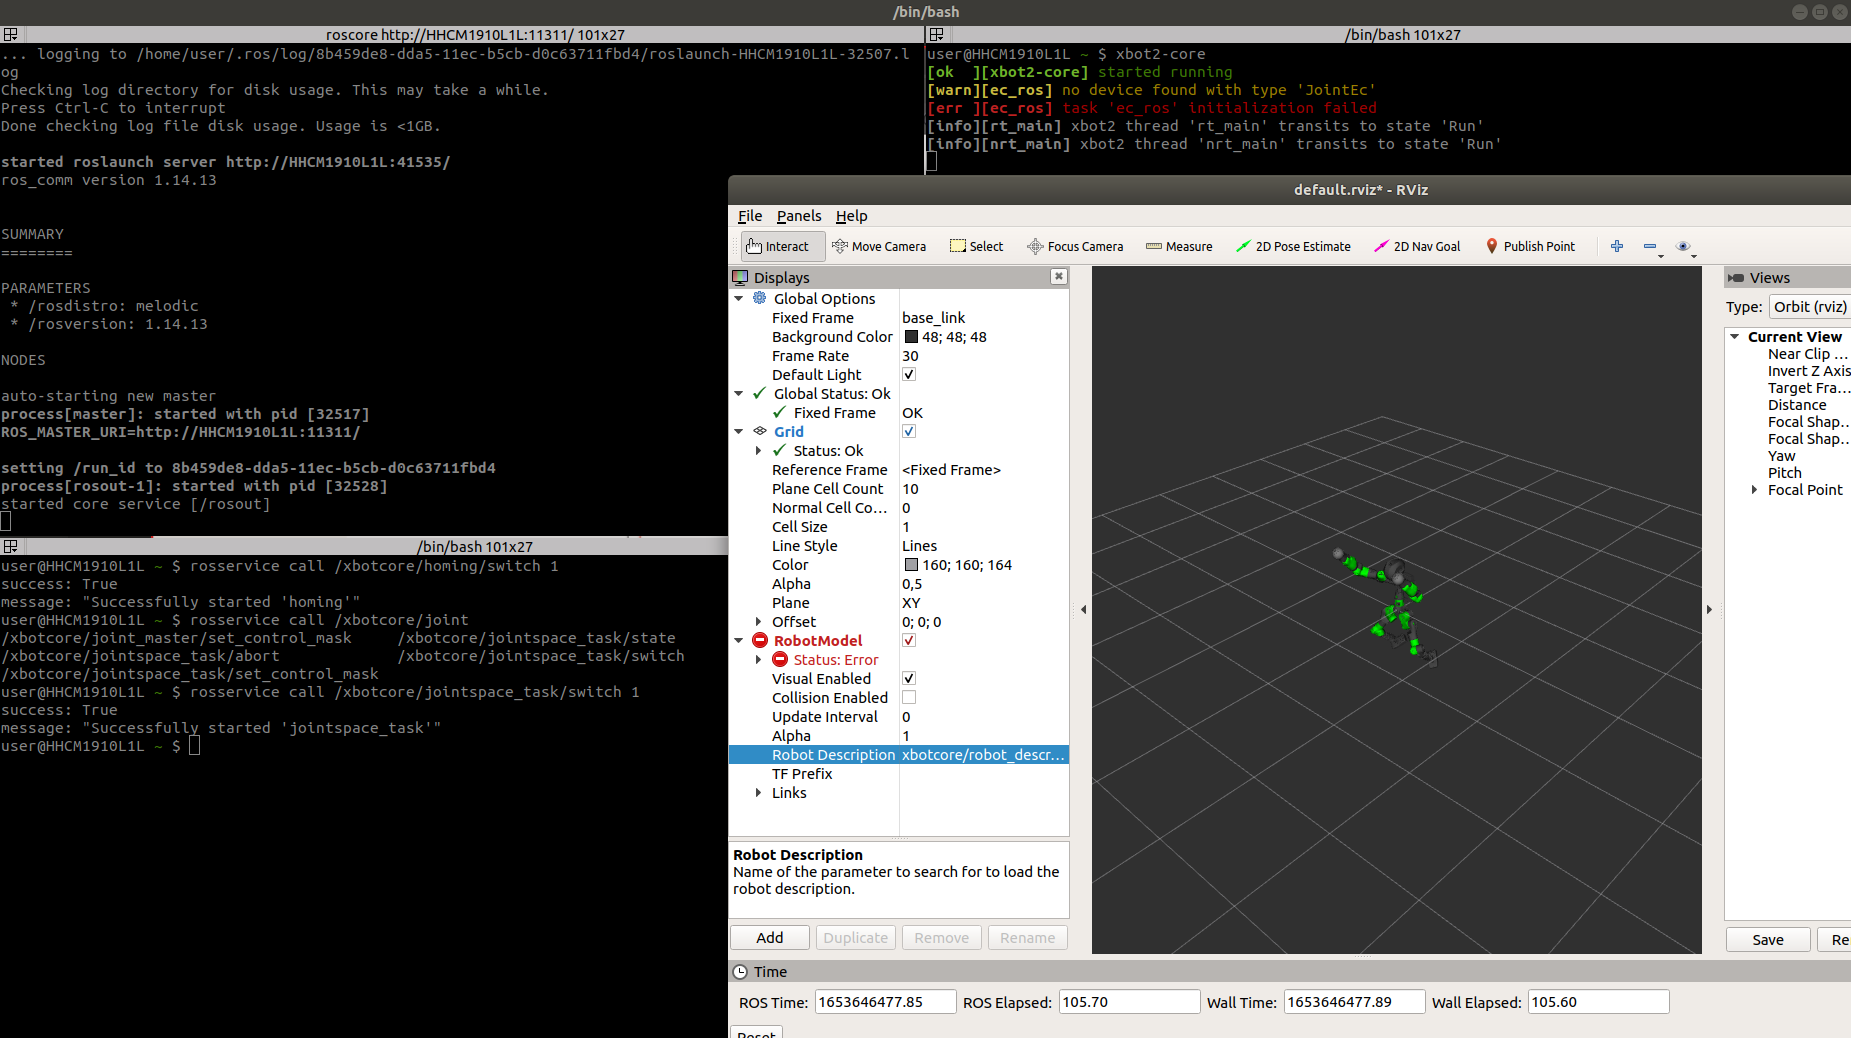
Dynamics environment (Gazebo)
